背景
用 Hexo 来生成 Github Pages 有一段时间了,之前一直是在本地写完 Blog 然后执行下述指令来发博客1
2rm -rf public
npx hexo deploy
今天想想,不是有 github acion 嘛,能不能使用自动化 CI 流程来发布,当我的 Hexo Repo 发布时,自动进行 deply 动作,进而部署到 rovast.github.io。
当然是可以的!本文就其中的步骤进行记录,也算是 github action 的初体验了。
步骤
首先我们要确认一个前提,就是 github pages 和 hexo 源码是两个东西,那我的来说,我有两个仓
- 仓库1,hexo source 仓库,存放 hexo 博客源码。https://github.com/rovast/hexo-config
- 仓库2,和自己用户名同样的仓库,你只要放了静态文件 index.html,github 自动帮你生成 github pages。https://github.com/rovast/rovast.github.io
整体的步骤如下
- 正确配置 hexo-config 的配置文件
_config.yaml - 正确 https://github.com/rovast/hexo-config 仓库配置,尤其是 git 的 ssh 私钥和 github action
- 正确配置 https://github.com/rovast/rovast.github.io 的 deploy key
接下来依次配置
1、配置 hexo-config 项目的 _config.yaml
1 | deploy: |
注意其中的 repo 一定要是用 ssh 的协议,一因为后面我们要借助 ssh-key。
2、配置 https://github.com/rovast/hexo-config 的 github 配置
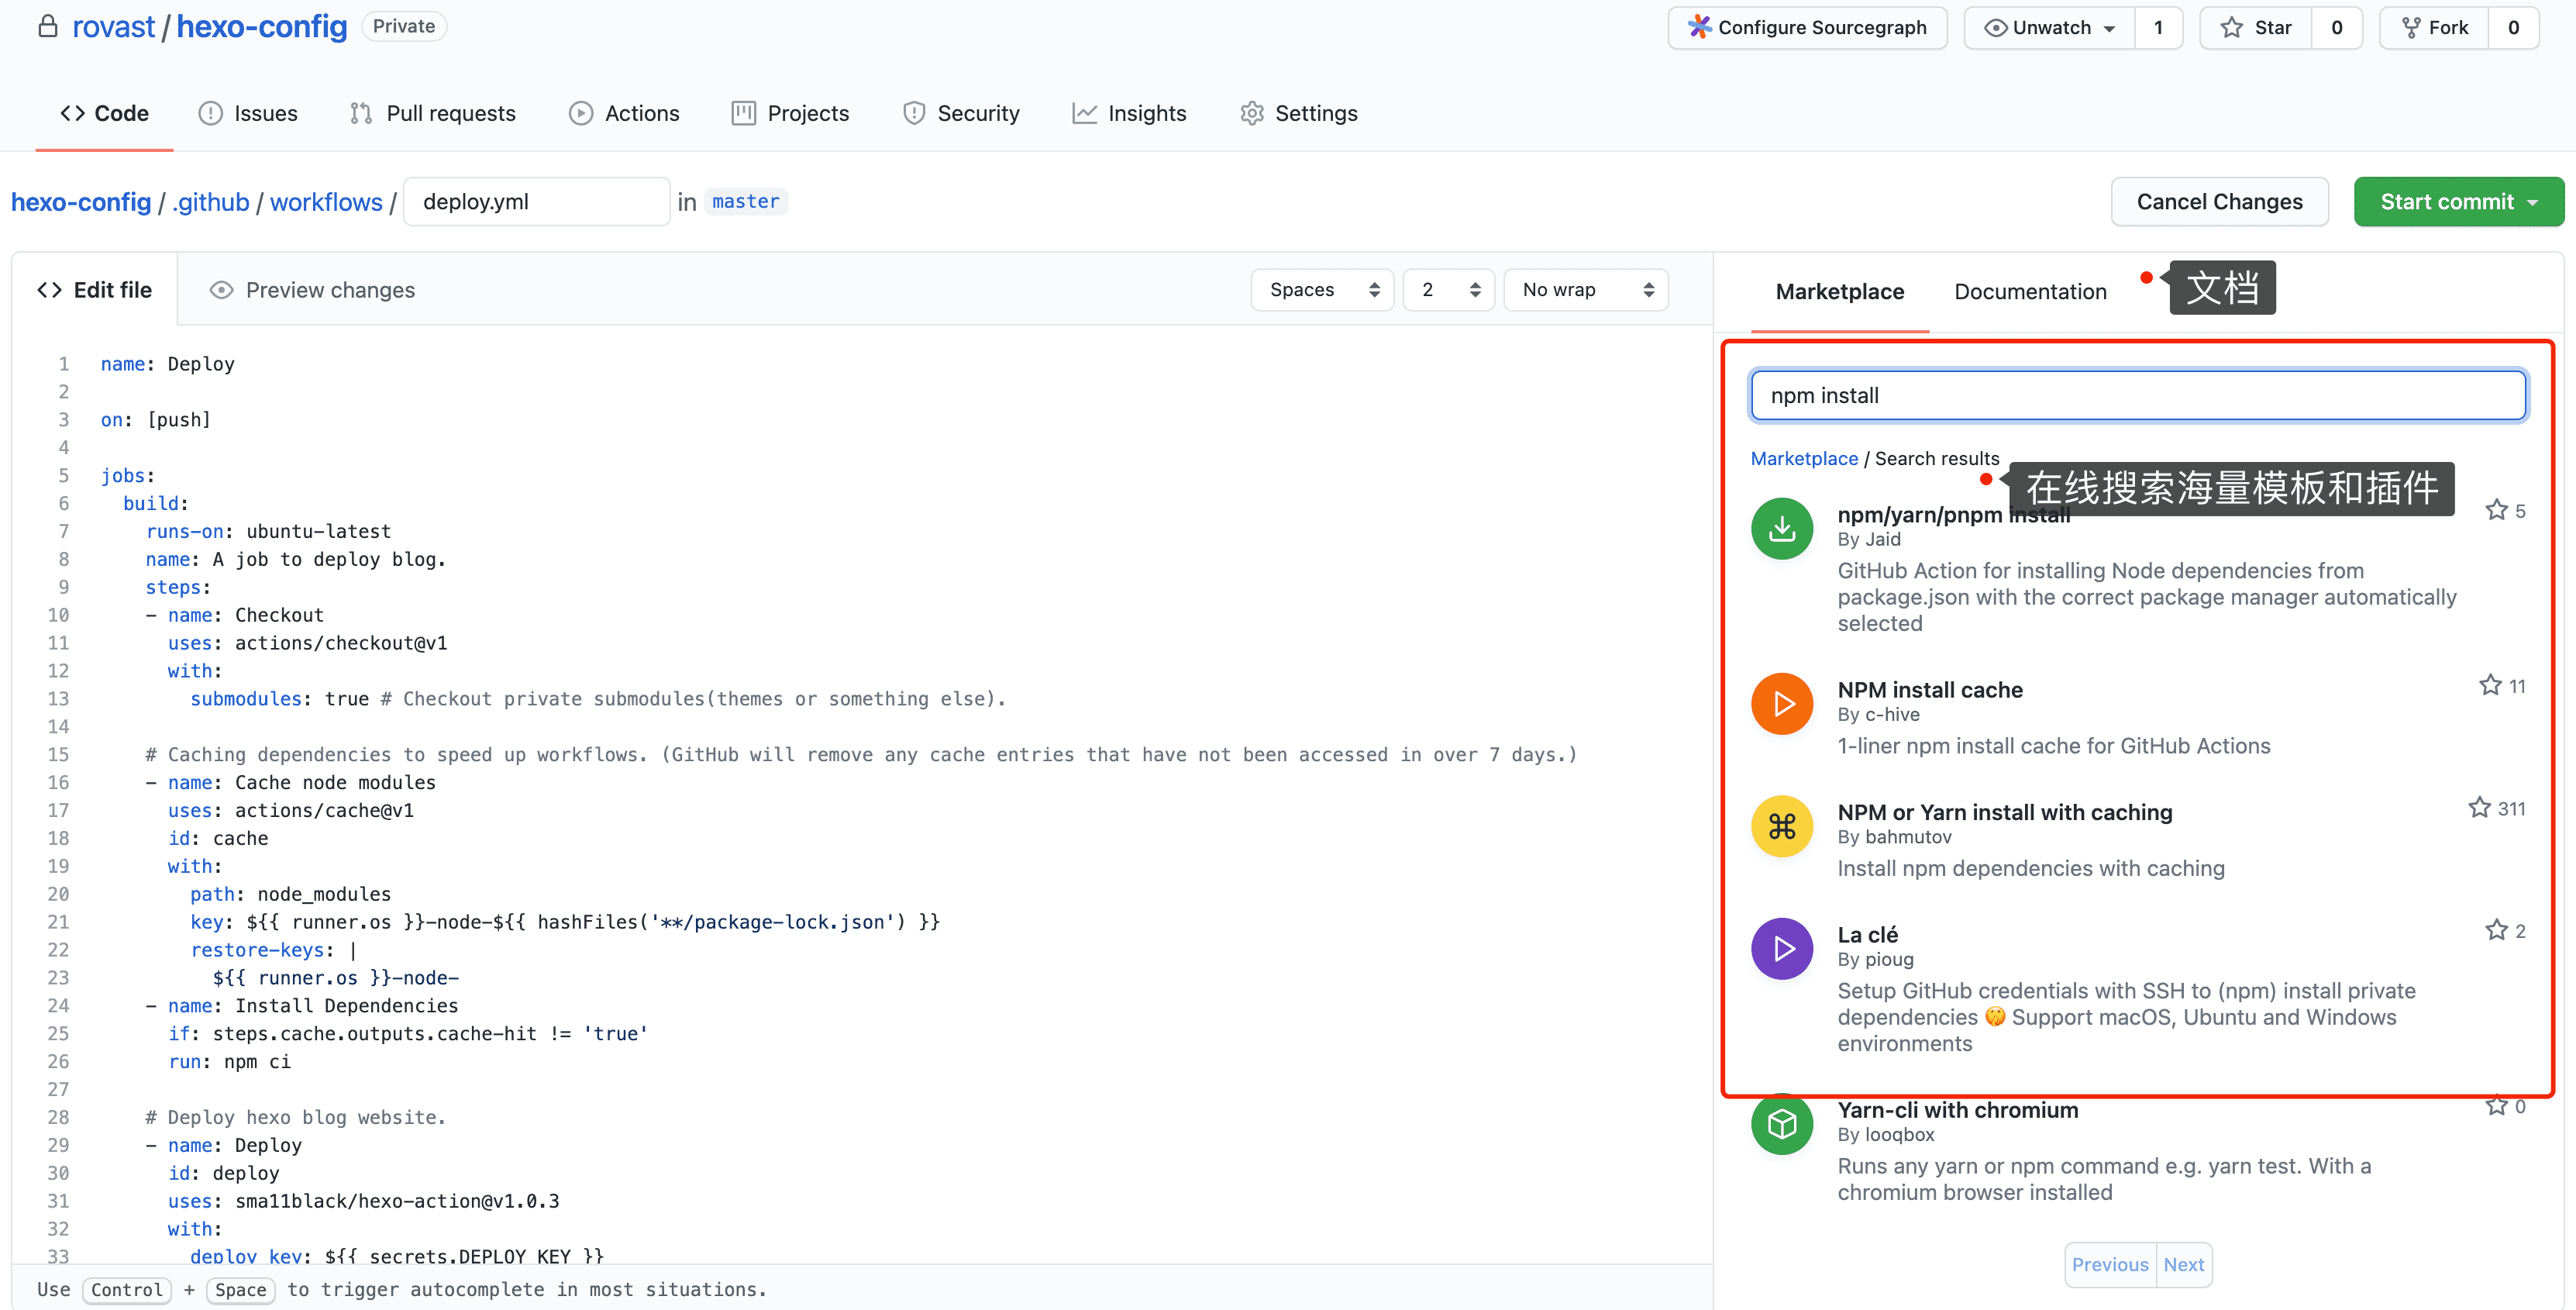
1. 配置 github action 的 yaml
参考的 https://github.com/sma11black/hexo-action,我们新建文件 .github/workflows/deploy.yaml
1 | name: Deploy |
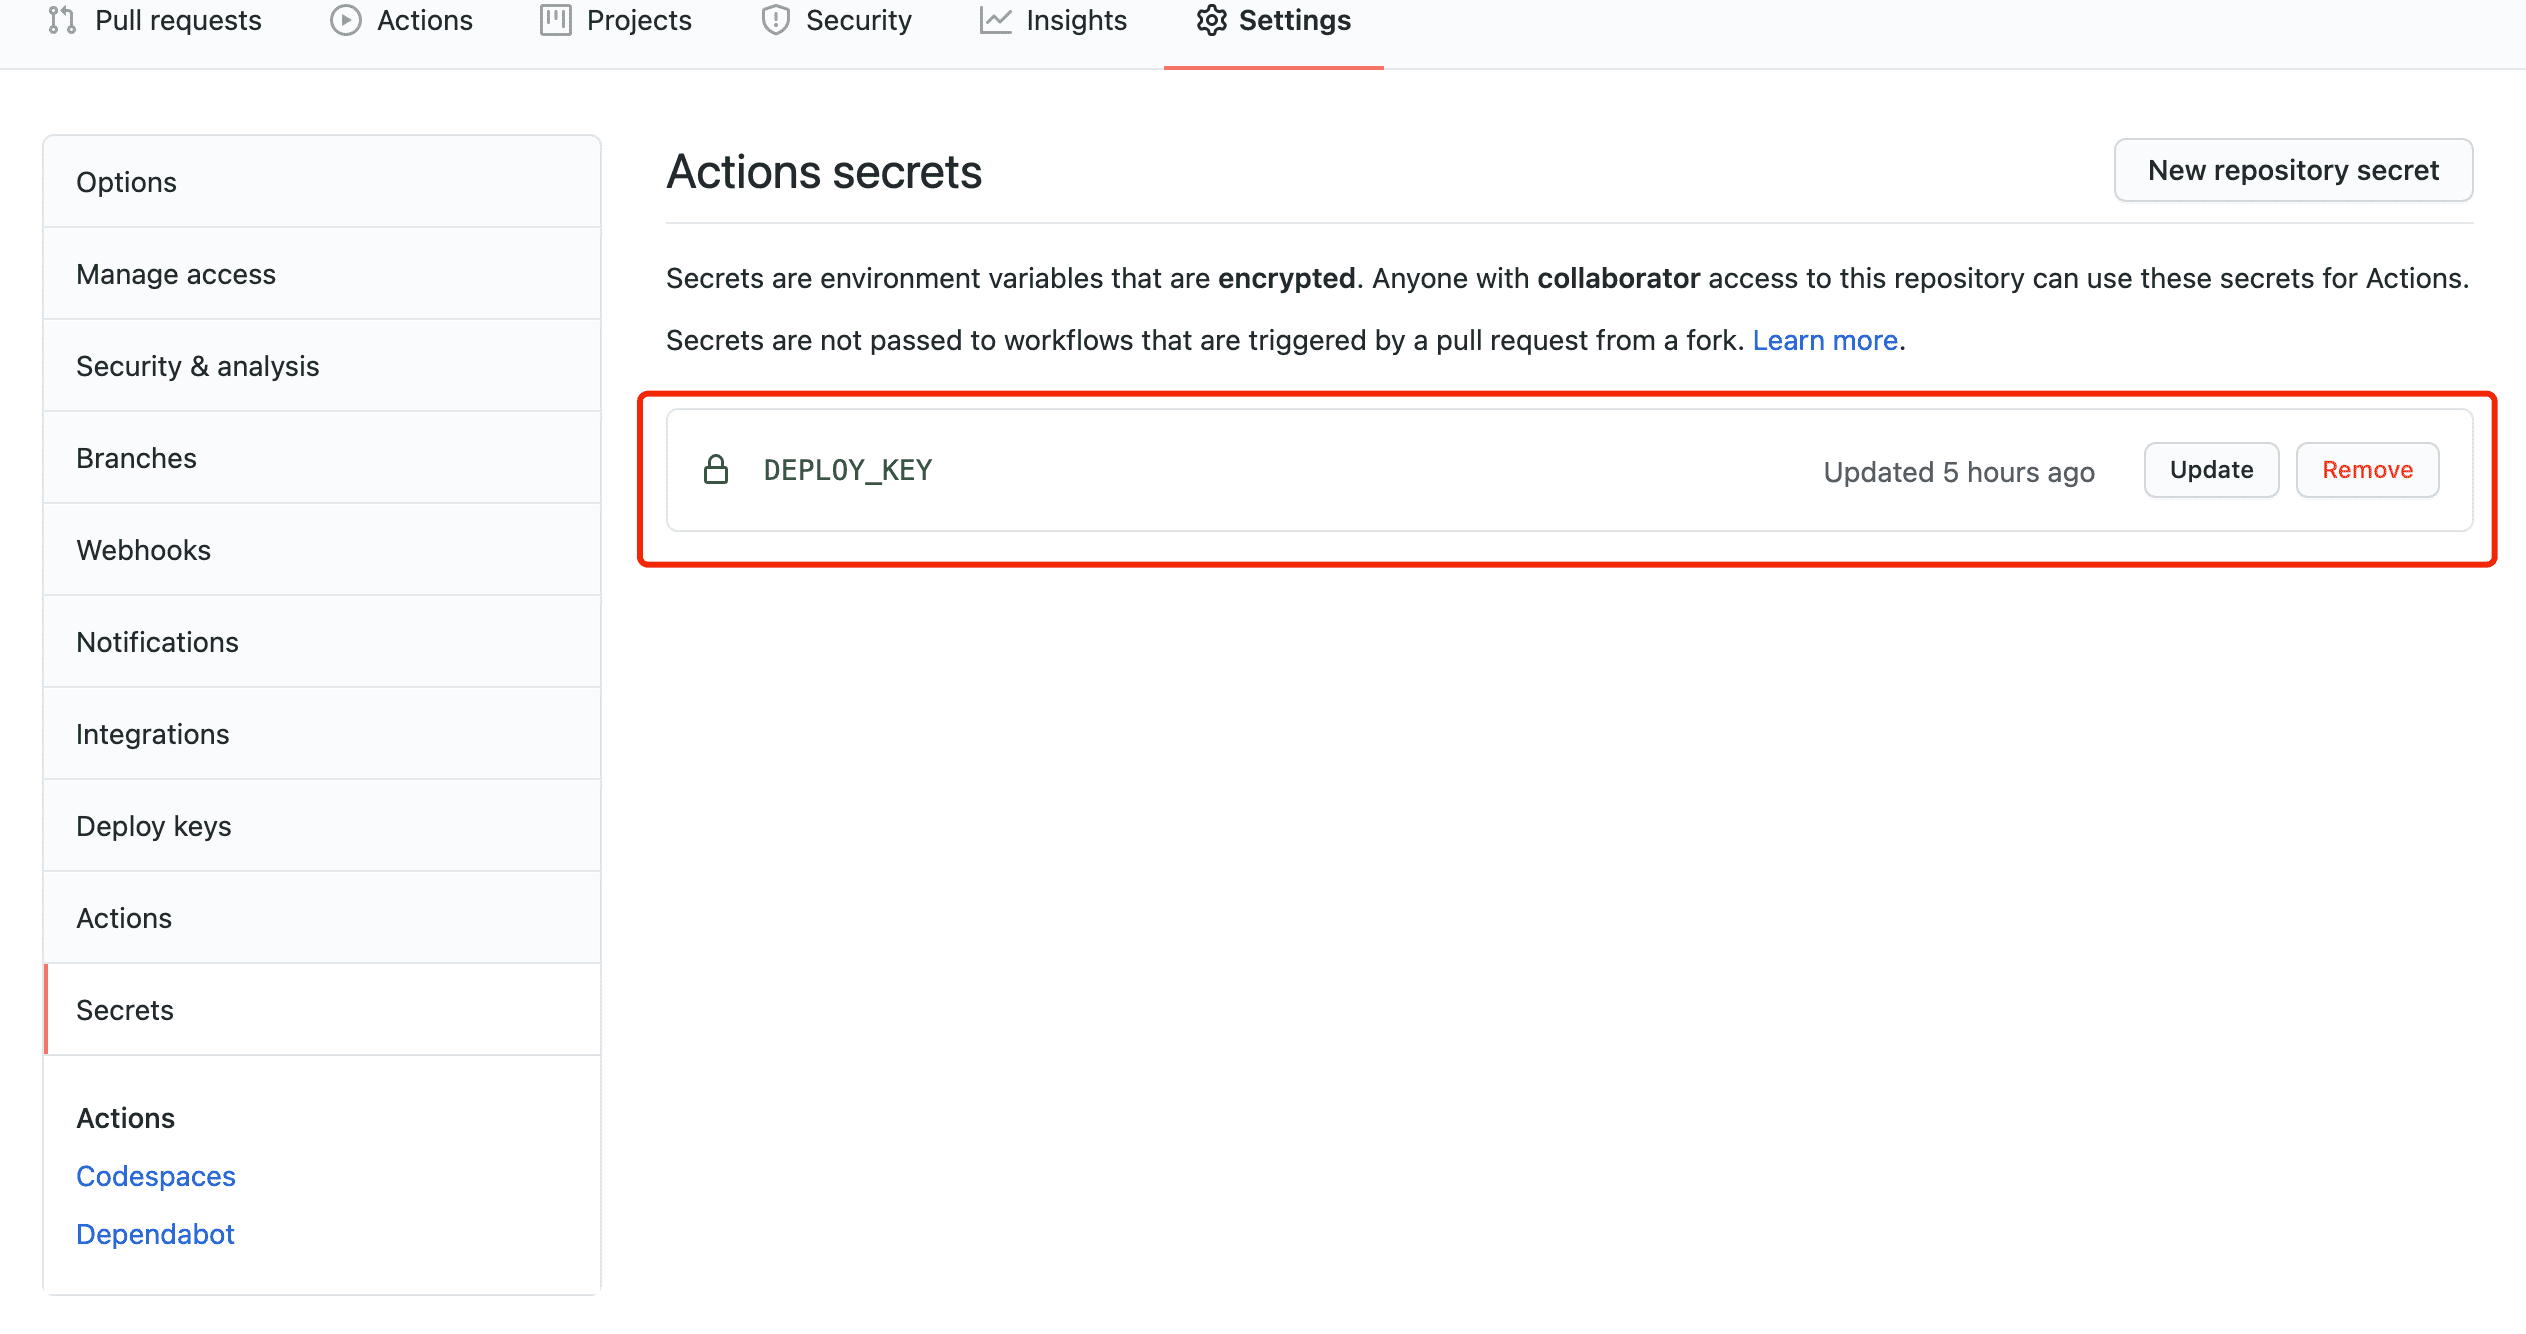
2. 配置 secrect.DEPLOY_KEY
我们看到 github action 里读取了 $,这个需要在 github 里正确配置。
注意这里应该填写的是私钥(cat ~/.ssh/id_rsa),而不是 pub 公钥
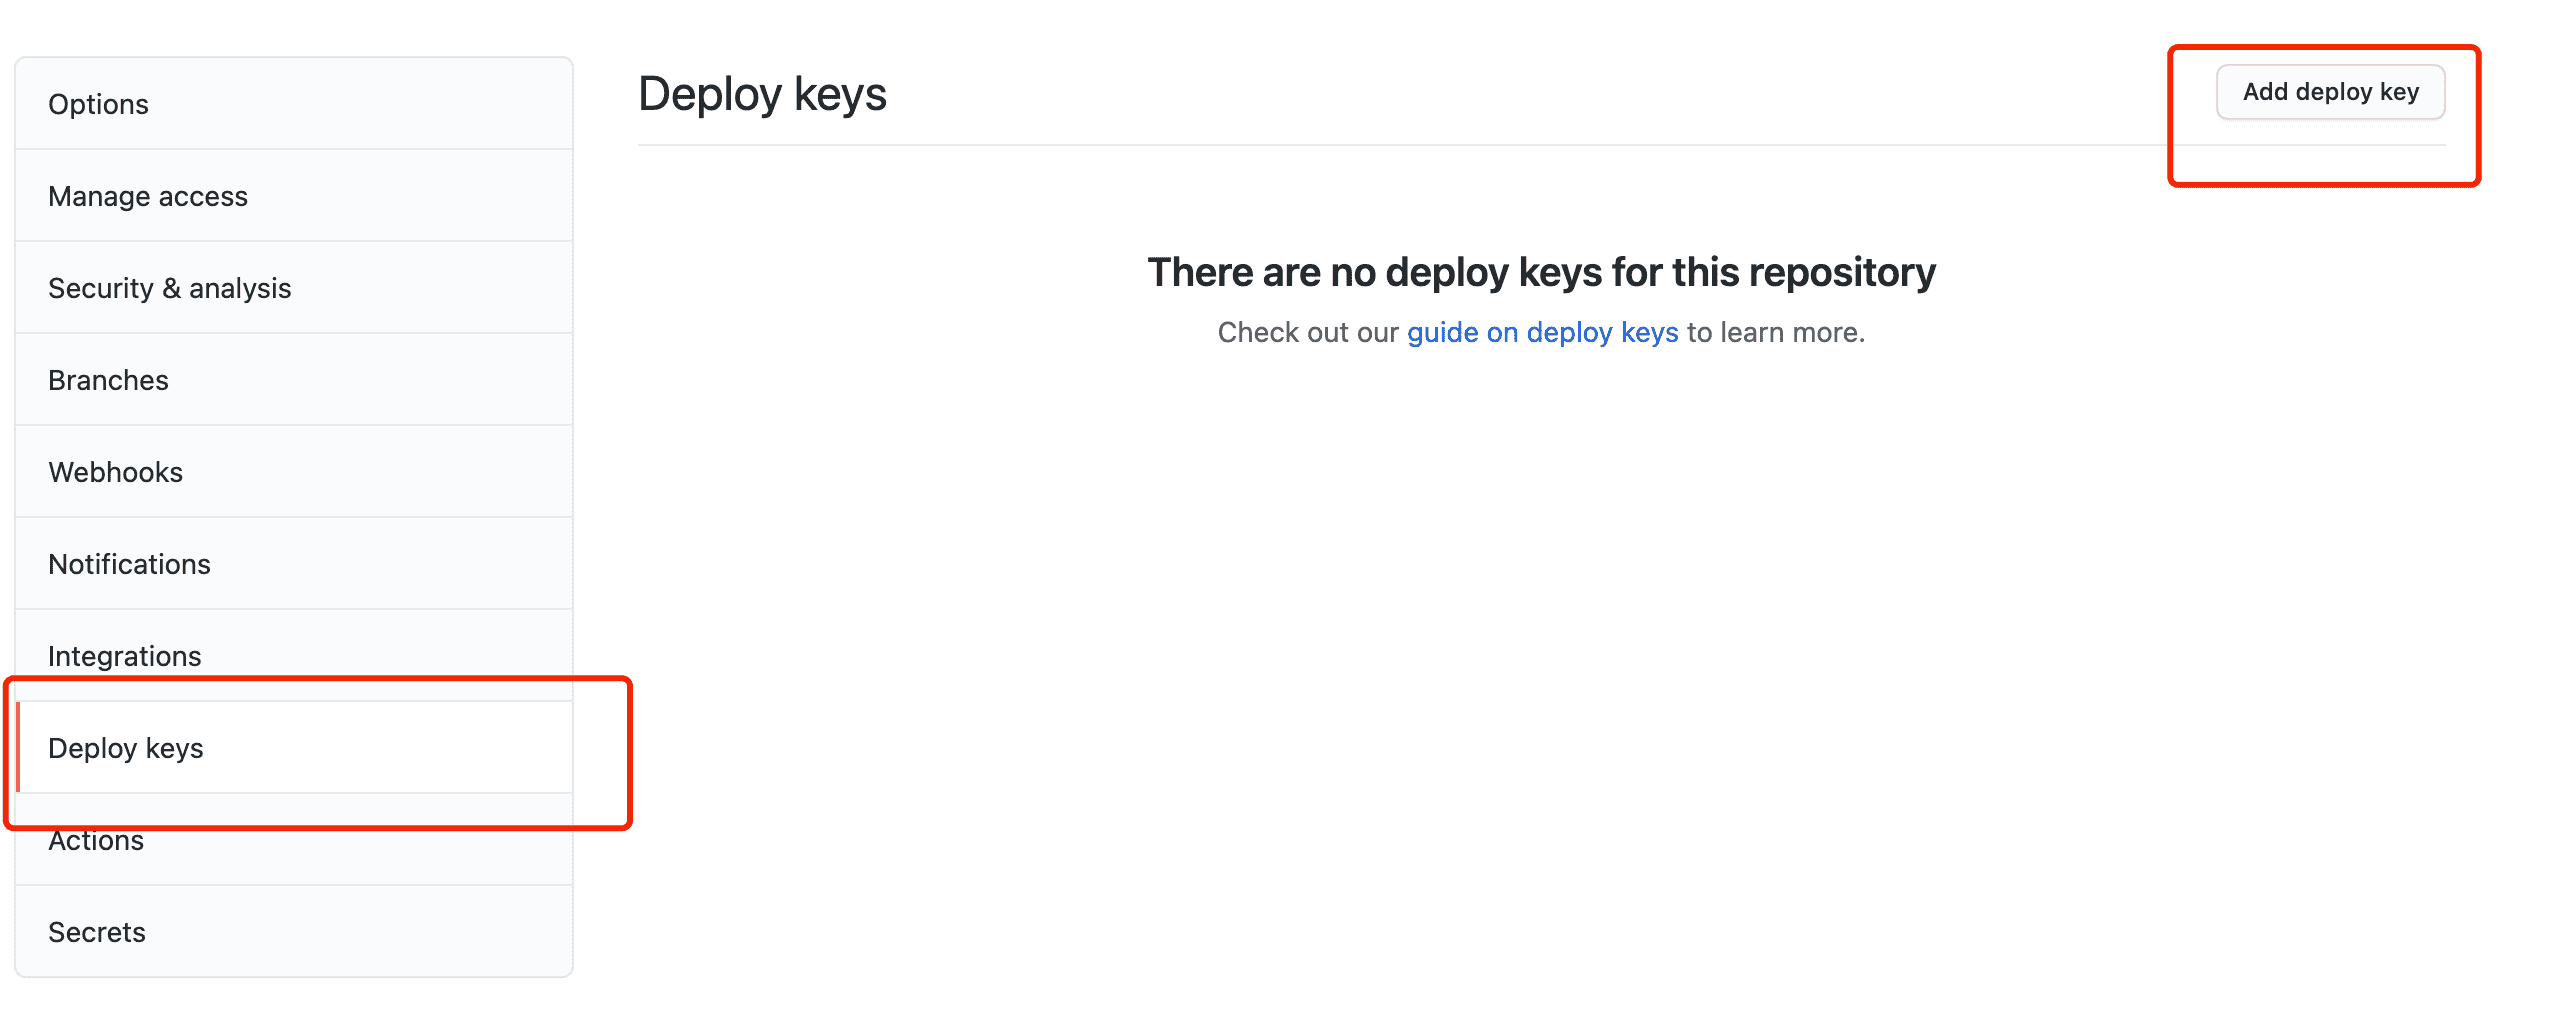
3、在 https://github.com/rovast/rovast.github.io 配置 deploy key
cat ~/.ssh/id_rsa.pub,配置到仓库的 deploy key 里面
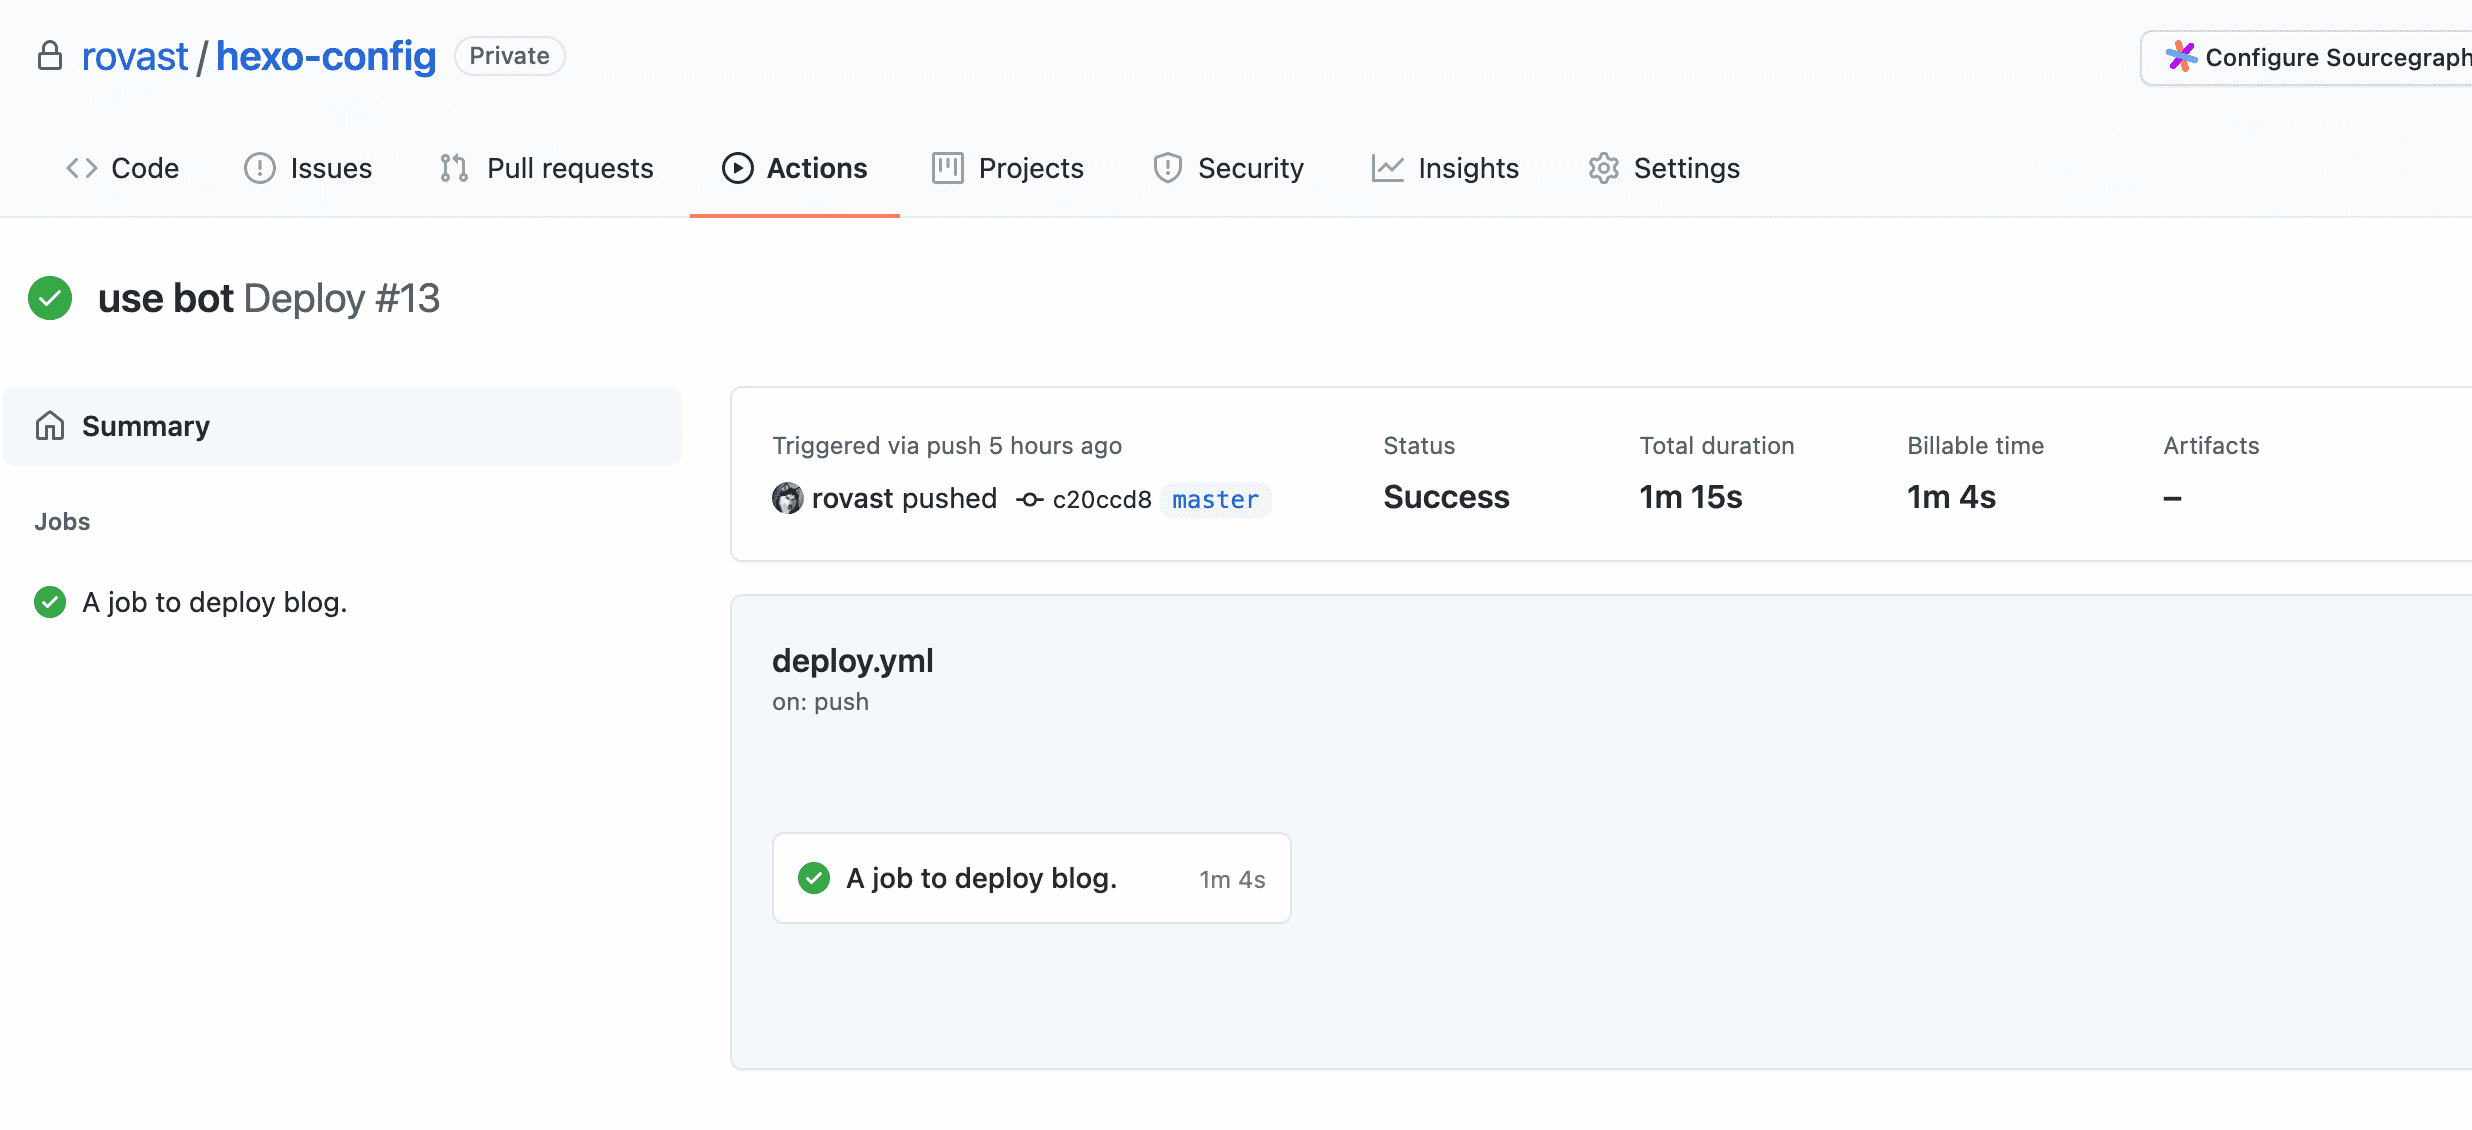
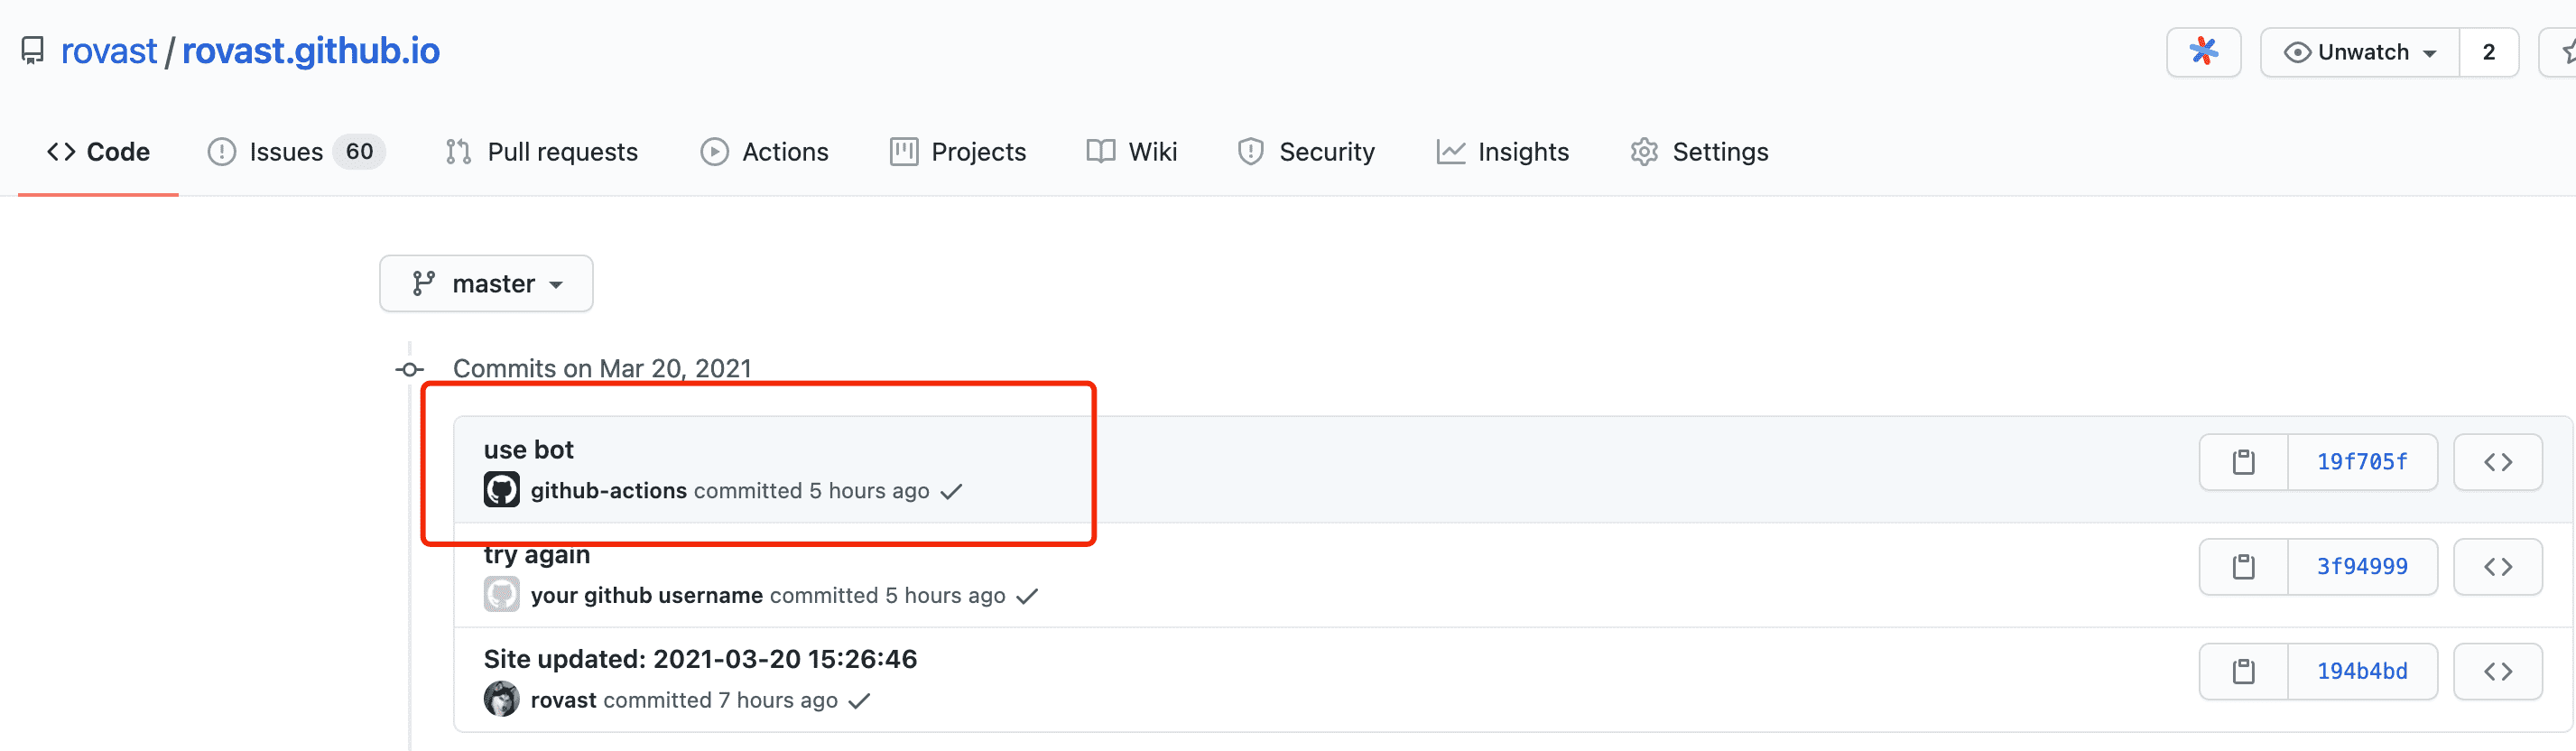
4、结束
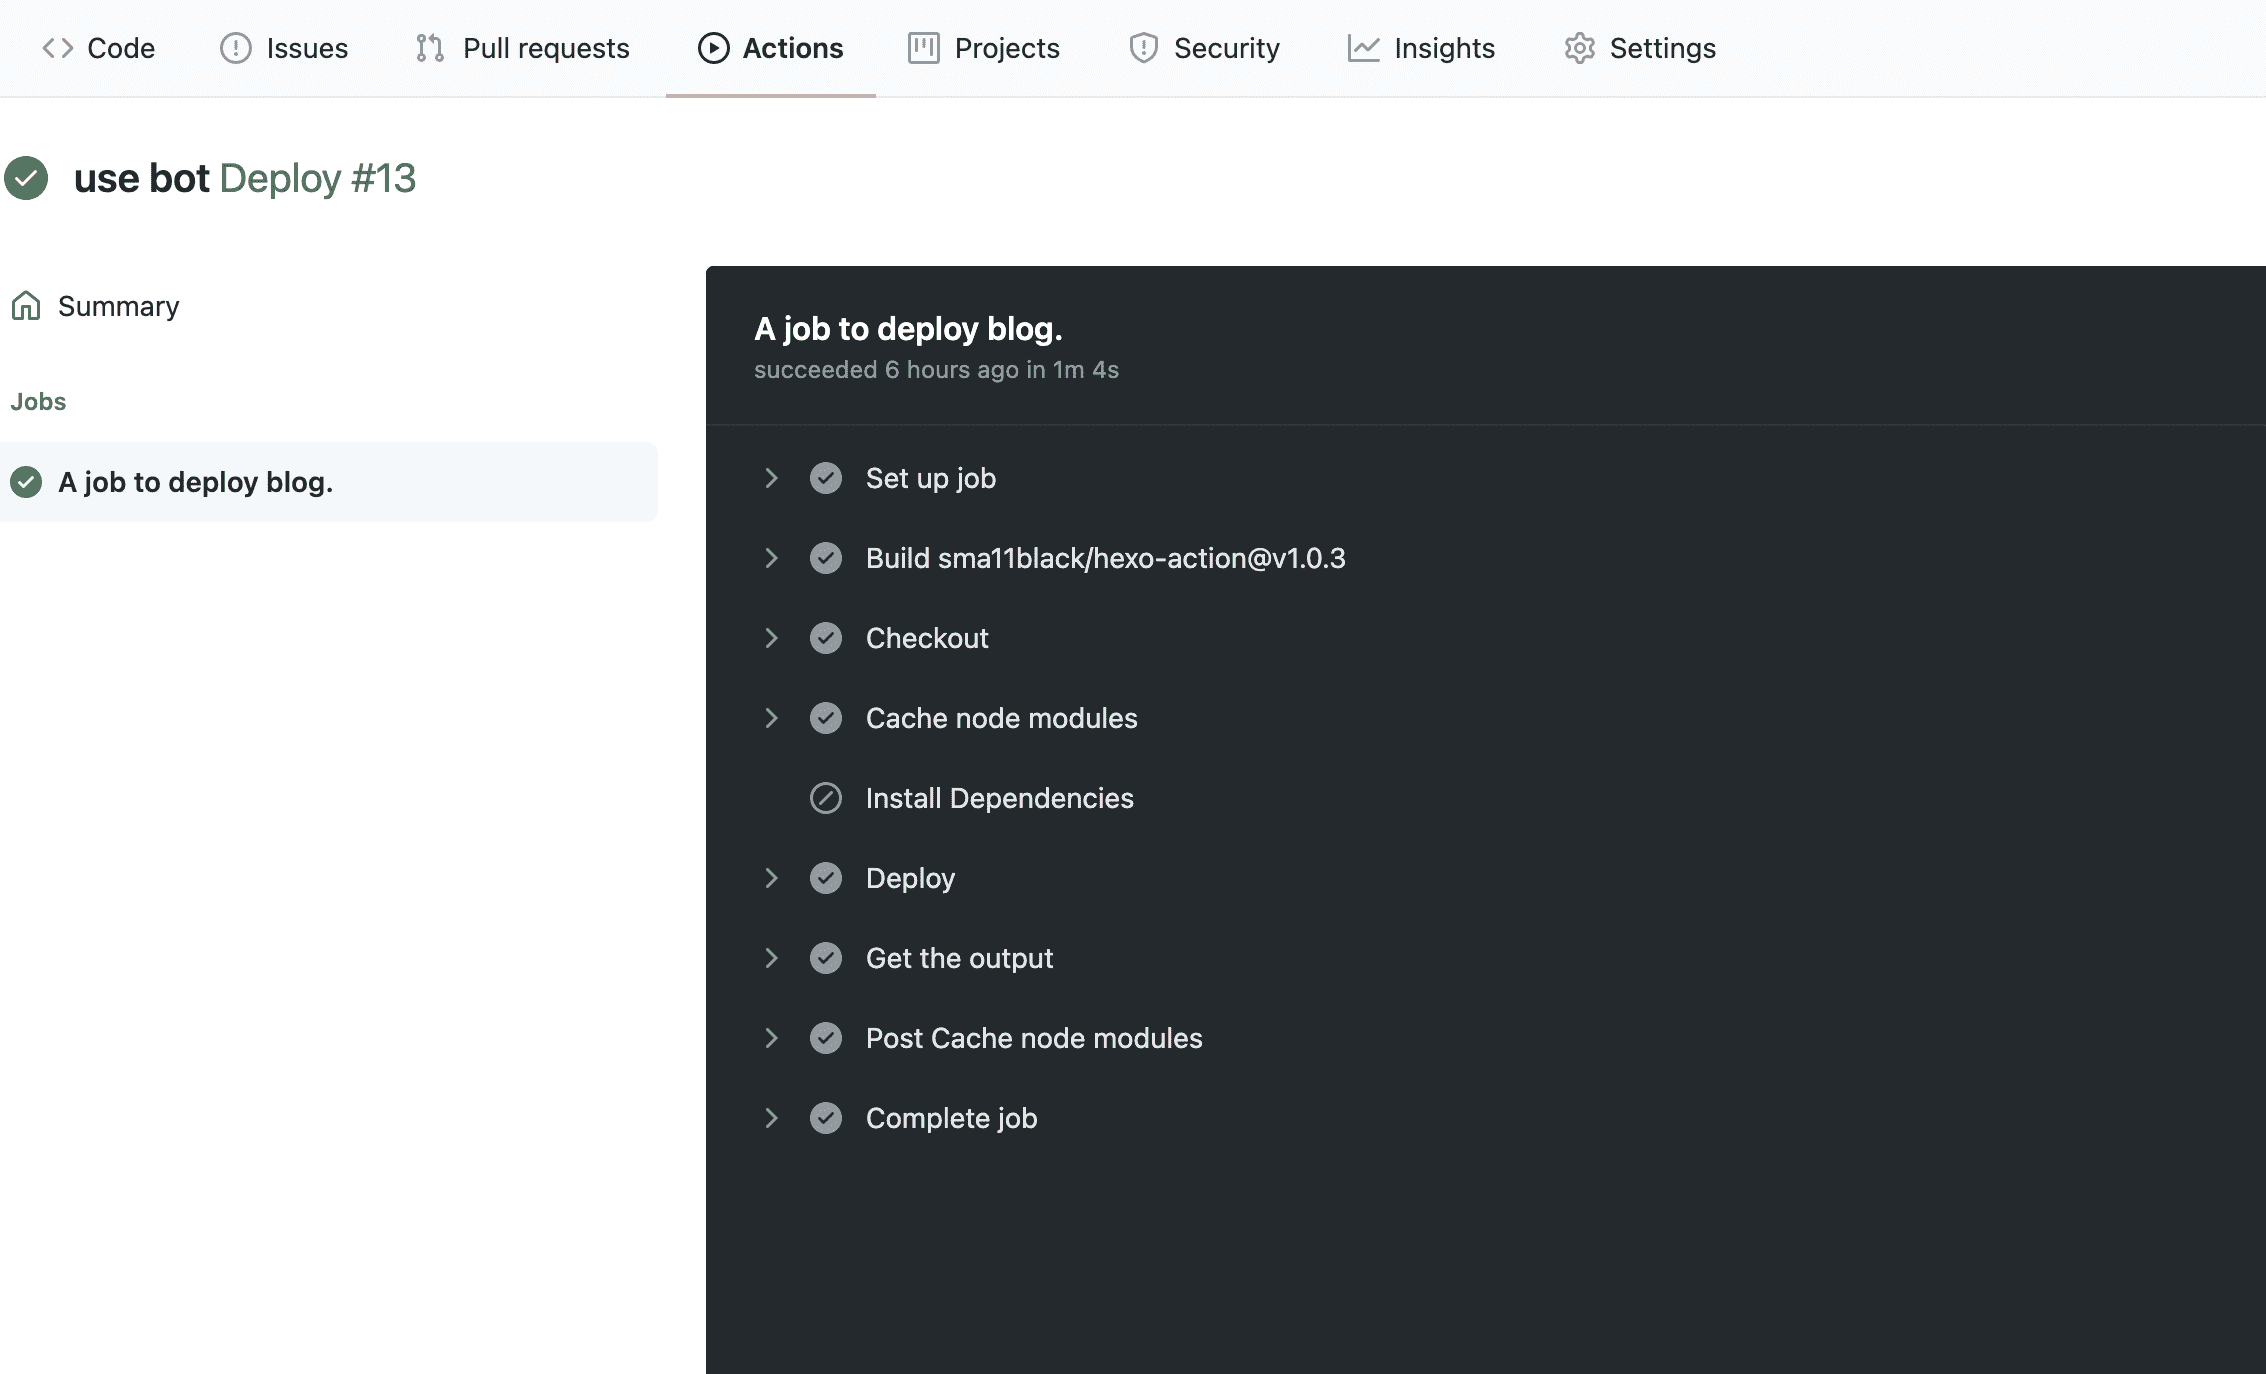
正常保存 https://github.com/rovast/hexo-config 仓库,push 后自动触发 github action 进行发布。
使用感受
有以下几点在使用过程中不得不提
丰富的 github action 模板,你甚至可以在编写的工程中在线搜索他的 Market Place!对新手而言可以快速入门,对于老手而言可以快速找到适合你的速成方案。
自定义的 secrect.VAR,并且这个 secrect 编写后,居然是不可以查看的,只能更改,简直太赞!对于一些敏感内容而言,简直完美!

执行 action 过程中的 UI 提示,很丝滑,执行到哪步,就显示哪个步骤。
另外,通过查看 https://github.com/sma11black/hexo-action 源码,我们知道,是可以对 Dockerfile 进行操作的,这个想象的空间就无限大了。
让你感觉这个流程本该如此的操作,一定是好操作!